Marketing Dash Application – Part 3: Deploying to Heroku

Marketing Dash Application – Part 2: Plotly Dash App
Introduction
Now that we have our Plotly Dash application up and ready, let’s deploy it to Heroku for free so that we can share it with our friends. Before we start dwelling deeper into this, make sure that you have two important dependencies on your computer: Git and Heroku. You can install Git by clicking here and Heroku by clicking here. Besides this, Heroku requires an account to connect your computer to their cloud services. So, go to this website and sign-up.
Moreover, to ensure that you have everything set up properly, log in to your account by running in a terminal
heroku loginThis will prompt you to log in on your browser using the account you created above.
Deployment to Heroku
With that out of our way, create a requirements.txt file to tell the server what python dependencies are needed. To automate the process, you can run the lines below in a terminal
pip freeze > requirements.txtA requirements.txt file is created in the same folder. Further, at the bottom of the file add gunicorn==20.0.4 in a different line. Gunicorn is a python WSGI HTTP server which helps deploy our application.
Another addition needed is the runtime.txt file. Create this file in the same folder and add the line below. This file tells Heroku which python version to use when deploying the Plotly Dash application.
python-3.9.15The last thing needed is the Procfile. Let’s create in the same folder and add
web: gunicorn app:serverNow everything is ready to start the deployment. Firstly, we initialize a git repository. This is a good trick to maintaining projects because we can keep track of all the changes done in time. If this is your first time working with Git, it is highly suggested that you follow a tutorial. A simple free tutorial can be found on the w3school website. Nonetheless, it is also preferred to add a global gitignore file in your home directory. For example, a good python gitignore file can be found here. As a result, initialize the repository
git initNext, add the project files and commit them
git add .
git commit -m 'Add dashboard files'
Push the files to Heroku by choosing an application name.
heroku create my-app-name
git push heroku master
heroku ps:scale web=1
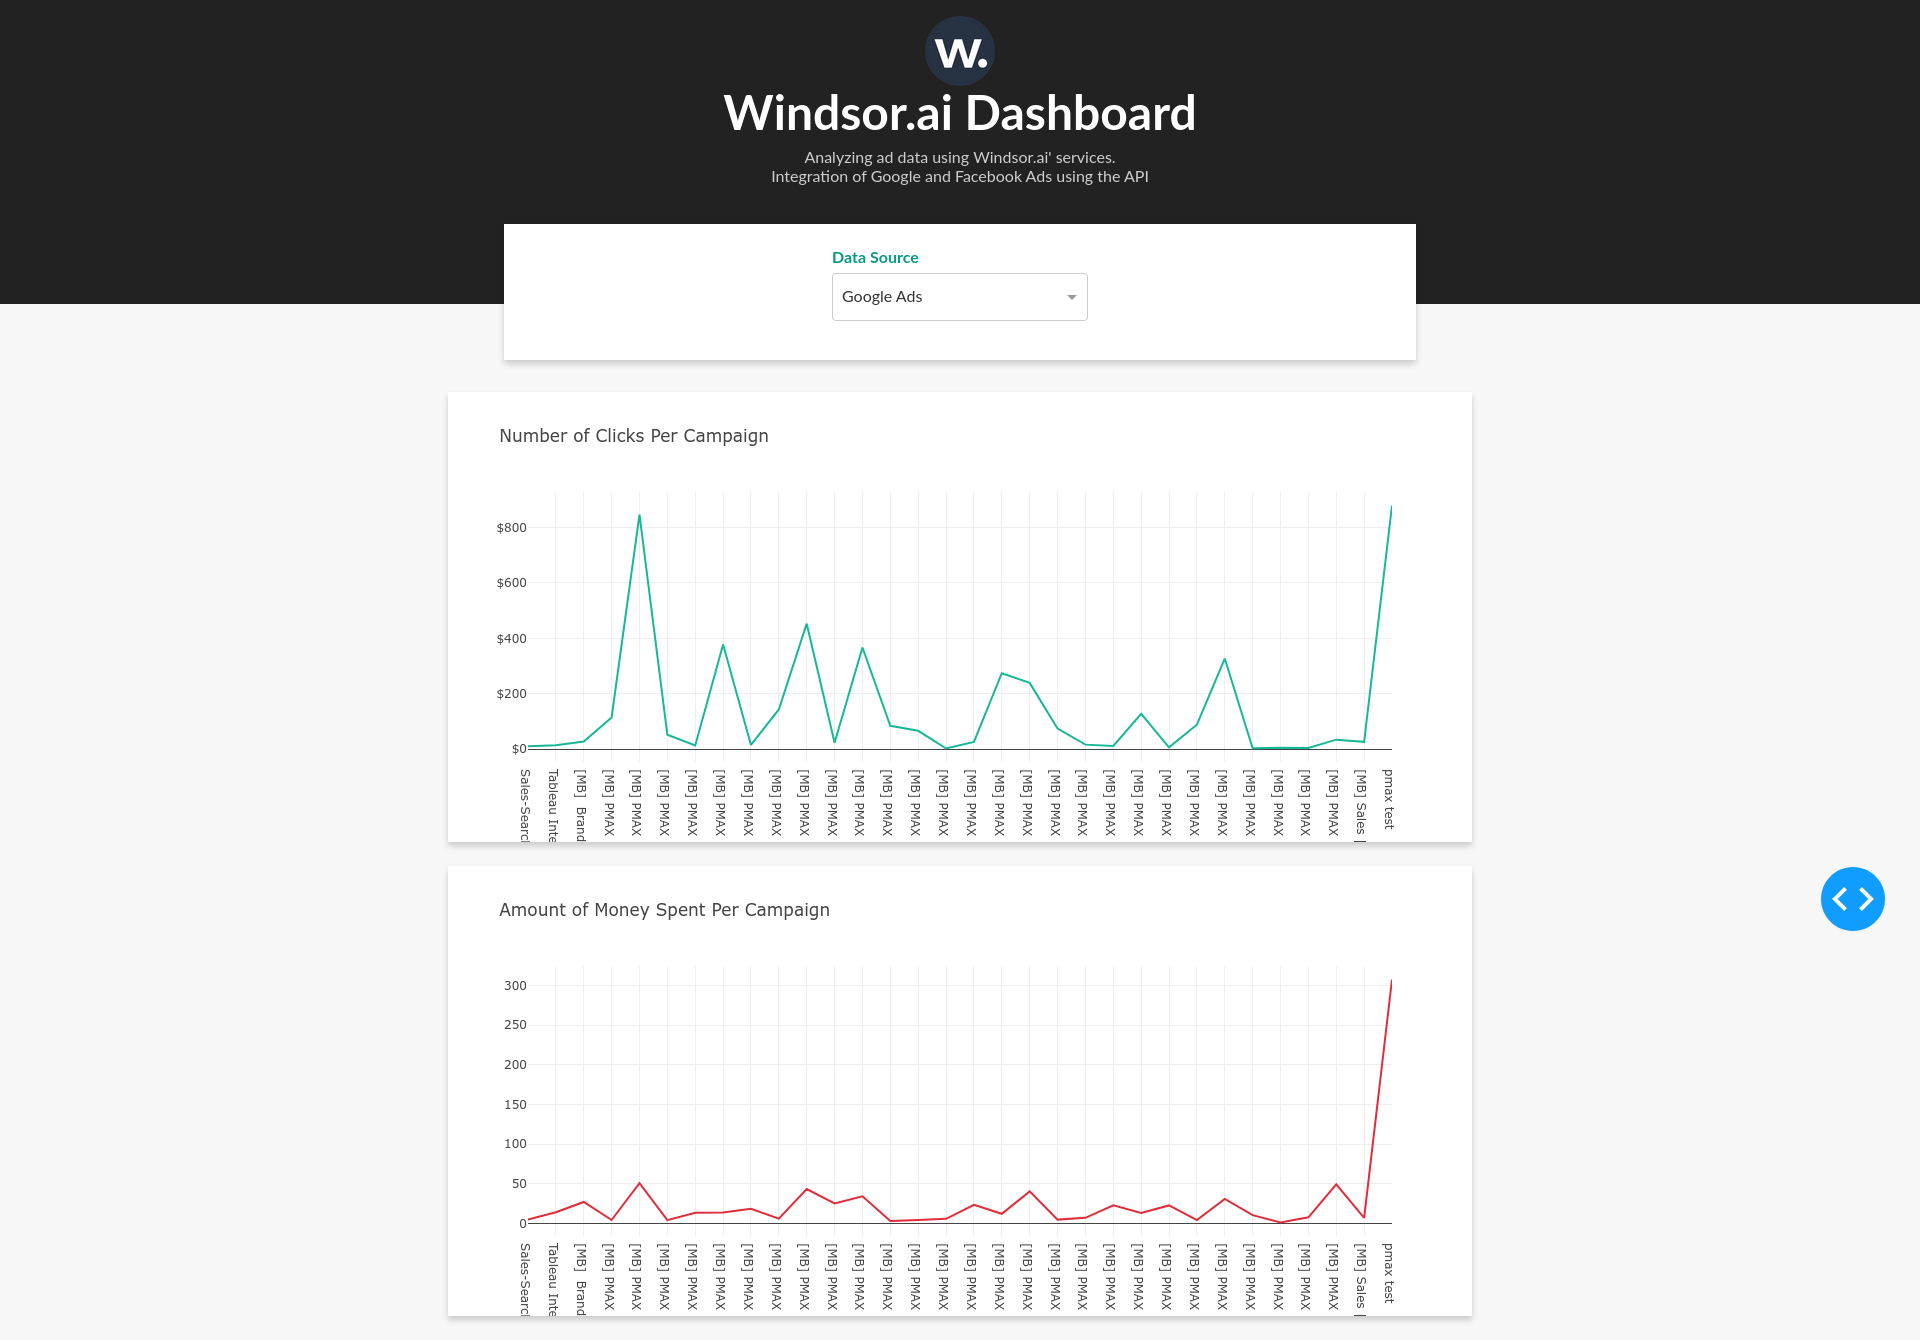
Keep your fingers crossed and try the following URL https://my-app-name.herokuapp.com/. Hopefully, if there was no error in the process, you should see your application running. The one built using the source code can be found here www.windsor-dashboard.herokuapp.com.
Reference
This tutorial was based on the one from Real Python.


