 AI insights
 About us
 Careers
 Security
 Customer reviews
 Contact us
 Affiliate program
 Solution partners
 Looker Studio templates
 Tableau templates
 Facebook Ads templates
 Google Ads templates
 Data fields & Metrics
 AI prompt library & Guides
 Product documentation
 API documentation
 Case studies
 Blog
Blog Data models
 Windsor vs Supermetrics
 Windsor vs Fivetran
 Windsor vs Portermetrics
 Last updated: 23 May 2025
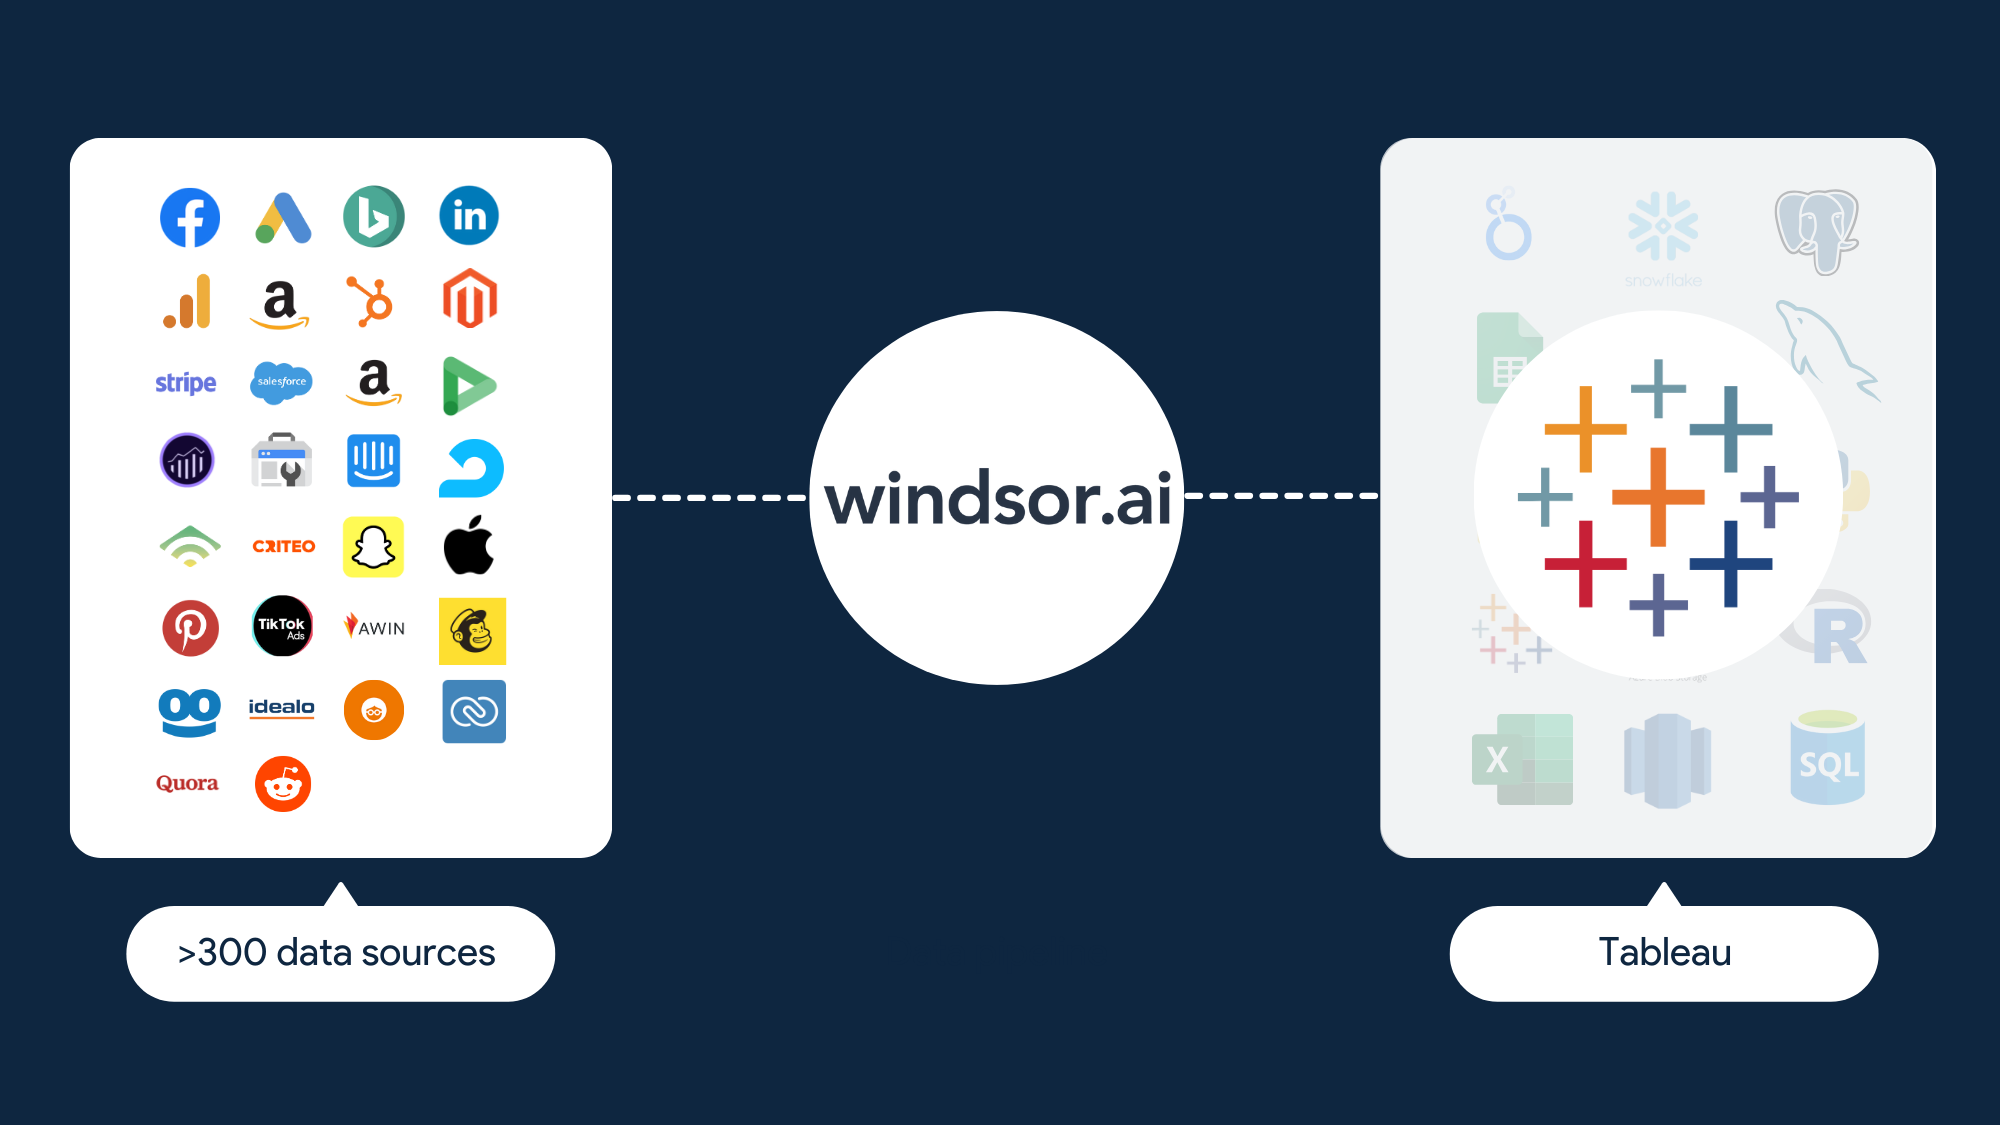

This guide helps you to get up and running with the Tableau connector for Windsor.ai. Follow the steps below to get started with importing data from more than 300 sources into Tableau.
Instructions
Prerequisites
Tableau Desktop version 2023.1 or later.
Important notes before you start
This Tableau connector is built using the V3 SDK of Tableau. Sadly Tableau decided to make connectors developed on this SDK – which is the latest they offer – extract only. What this means for you is that it allows you to visualize your data and publish your analysis like any other data source. However, to refresh the data, you must either do it manually in Tableau Desktop or use Tableau Server.
The Windsor.ai Tableau connector is compatible with all Tableau products, such as Tableau Desktop, Tableau Server, Tableau Prep, and Tableau Catalog.
Using Windsor.ai’s direct connection to Tableau may not be ideal for all situations, such as when working with large datasets exceeding 100K rows per flow or when performing complex SQL transformations. Refer to the table below to determine the best implementation for your specific needs.
| Use Case | Solution |
|---|---|
| Personal Dashboard | Use the Windsor.ai Tableau Connector |
| Shared Dashboard | Use the Windsor.ai Tableau Connector and configure Tableau Server |
| Shared Dashboard with complex or large data (e.g., complex SQL transformations or over 100K rows per table) | First, use a database like BigQuery, Snowflake, Azure SQL, MySQL or PostgreSQL as your data destination. Then, use Tableau’s native connection to connect to the chosen database. |
Installation of the connector
Ensure your Tableau version is at least 2023.1. If it’s not, please update it.
Instructions for Mac
- Download the Windsor.ai Connector Plugin file.
- Save the file to the appropriate location
~/Documents/My Tableau Repository/Connectors - Restart your Tableau Desktop.
Method 1: Run Tableau from the Terminal with Disabled Plugin Configuration
Step 1: Find the Installation Path of Tableau Desktop
First, determine where Tableau Desktop is installed on your Mac. By default, it is usually in the Applications folder: /Applications/Tableau Desktop <version>.app. Replace <version> with the specific version of Tableau you have installed (for example, Tableau Desktop 2021.1.app).
Step 2: Open the Terminal
- Press
Command + Spaceto open Spotlight Search. - Type
Terminaland press Enter to open the Terminal application.
Step 3: Execute the Command
Make sure to include quotes around the full path to the Tableau executable:
cd "/Applications/Tableau Desktop <version>.app/Contents/MacOS"
./tableau -DDisableVerifyConnectorPluginSignature=true
Replace <version> with your current installed version of Tableau.
If you encounter this error—operation not permitted in Terminal—it may indicate that Terminal lacks the necessary permissions. In this case, please check your macOS security settings and ensure Terminal has Full Disk Access by navigating to System Preferences > Security & Privacy > Privacy.
Method 2 (recommended): Create an Alias for Terminal to Run Tableau with the Disabled Plugin Configuration
Step 1: Open the Terminal
- Press
Command + Spaceto open Spotlight Search. - Type
Terminaland press Enter to open the Terminal application.
Step 2: Create an Alias
- Open your shell configuration file in a text editor. For example, if you are using
bash, you would edit.bash_profileor.bashrc:nano ~/.bash_profile - Add the following line to create an alias for running Tableau with the disabled plugin configuration:
alias tableau-disable-signature='"/Applications/Tableau Desktop <version>.app/Contents/MacOS/tableau" -DDisableVerifyConnectorPluginSignature=true'Replace
<version>with your installed version of Tableau. When using Spotlight to search for Tableau, note that Spotlight utilizes mds_stores to perform its search operations. In many cases, issue with MacBook mds_stores high cpu consumption might appear, potentially slowing down Tableau’s performance. If you encounter any issues, consider checking fseventsd on Mac, restarting your machine, or temporarily disabling Spotlight. - Save the file and exit the text editor (
Ctrl + Xto exitnano).
Step 3: Apply the Changes
- Reload the shell configuration file:
source ~/.bash_profile
Step 4: Use the Alias
You can now use this alias to open Tableau with the desired configuration by typing:
tableau-disable-signatureThis method allows you to easily open Tableau with the disabled plugin configuration without having to remember the full command each time.
Instructions for Windows
Step 1: Download the Windsor.ai Connector Plugin file.
Step 2: Save the file to the appropriate location:
C:\Users\[Windows User]\Documents\My Tableau Repository\Connectors
Step 3: Restart your Tableau Desktop.
Method 1: Run Tableau from the CLI with Disabled Plugin Configuration
-
Find the Installation Path of Tableau Desktop:First, you need to know where Tableau Desktop is installed on your computer. By default, it is usually in a path like:
C:\Program Files\Tableau\Tableau <version>\bin
Replace
<version>with the specific version of Tableau you have installed (for example,Tableau 2021.1). -
Open the Command Line:
- Press
Win + Rto open the “Run” dialog box. - Type
cmdand press Enter to open the command line.
- Press
-
Execute the Command:Make sure to include quotes around the full path to the Tableau executable:
cd "C:\Program Files\Tableau\Tableau <version>\bin"
"tableau.exe" -DDisableVerifyConnectorPluginSignature=true
Make sure you replace
<version>with your currently installed version of Tableau.
Method 2 (recommended): Create a Shortcut on Your Desktop
If you prefer not to use the command line each time, create a shortcut with the following process:
-
Create a New Shortcut:
- Right-click on the desktop and select
New > Shortcut. - In the location of the item, enter the path to the Tableau executable and add the configuration option. For example:
- Right-click on the desktop and select
"C:\Program Files\Tableau\Tableau <version>\bin\tableau.exe" -DDisableVerifyConnectorPluginSignature=true
Replace
<version>with your installed version of Tableau. For instance, if your Tableau version is 2024.1, you would insert the following:"C:\Program Files\Tableau\Tableau 2024.1\bin\tableau.exe" -DDisableVerifyConnectorPluginSignature=true
- Click
Next, give the shortcut a name (e.g., Tableau Disable Signature), and clickFinish.
- Use the Shortcut:You can now use this shortcut to open Tableau with the desired configuration.
Usage of the connector
Defining your query
In the Windsor.ai Data Preview build your query and copy it as shown in the screenshot below
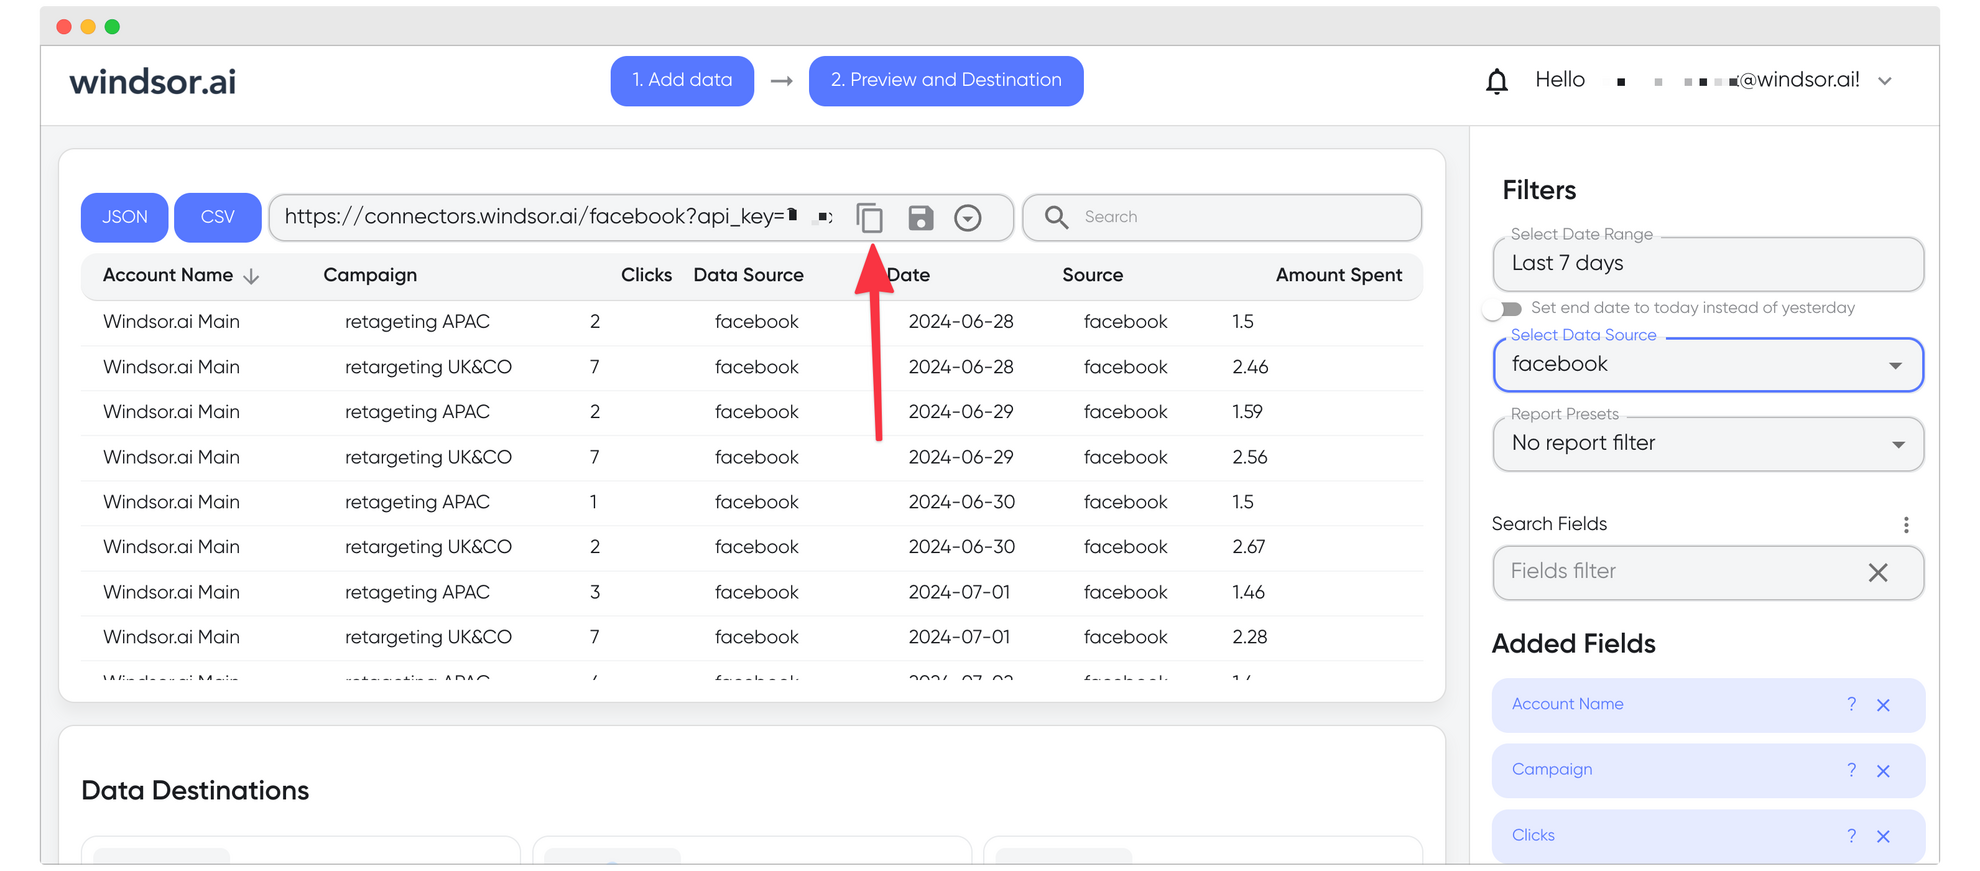
Now open Tableau and you should find Windsor.ai under “Connect to a Server” on the left-hand side, within the “More” section.
- Open Tableau Desktop.
- Click on the “Windsor.ai by Windsor.ai” connector located on the left side.
- Enter your connector URL you have in your clipboard and click “Connect”.
- The data will now be loaded into Tableau.

