 AI insights
 About us
 Careers
 Security
 Customer reviews
 Contact us
 Affiliate program
 Solution partners
 Looker Studio templates
 Tableau templates
 Facebook Ads templates
 Google Ads templates
 Data fields & Metrics
 AI prompt library & Guides
 Product documentation
 API documentation
 Case studies
 Blog
Blog Data models
 Windsor vs Supermetrics
 Windsor vs Fivetran
 Windsor vs Portermetrics
How to use Windsor.ai native connectors for Snowflake
Windsor.ai native connectors for Snowflake enable automated integration between your data sources and Snowflake’s cloud data platform, allowing you to centralize, analyze, and act on your business data in the warehouse with ease.
Designed for high performance, scalability, and simplicity, our no-code connectors automate data ingestion from 325+ apps directly into Snowflake without the need for complex ETL processes and custom scripts.
Built to complement Snowflake’s Data Cloud, Windsor.ai connectors empower teams to leverage Snowflake’s advanced analytics and storage capabilities while maintaining flexibility and control over their data pipelines.
Key benefits of Windsor.ai connectors for Snowflake
- Unified data access: Aggregate data from diverse sources, including marketing platforms, CRMs, ad networks, and analytics tools, into Snowflake for a single source of truth.
- Automated data pipelines: Schedule and automate data synchronization in less than 5 minutes to keep your Snowflake datasets always up-to-date, removing manual effort and operational overhead.
- Enhanced data sharing: With Windsor.ai connectors, different departments can link multiple data sources to Snowflake using relational database logic, ensuring simultaneous access to the latest information.
- Automated data mapping: Windsor applies normalization and transformation rules under the hood and matches schemas between sources and Snowflake, ensuring you work with consistent and accurate data.
Ready to experience these benefits using Windsor.ai native connectors for Snowflake? Follow the steps below to build your first integration.
Steps to send your data to Snowflake through Windsor.ai connectors
Step 1. Connect your data source in Windsor.ai
1. Create a Windsor.ai account and log in.
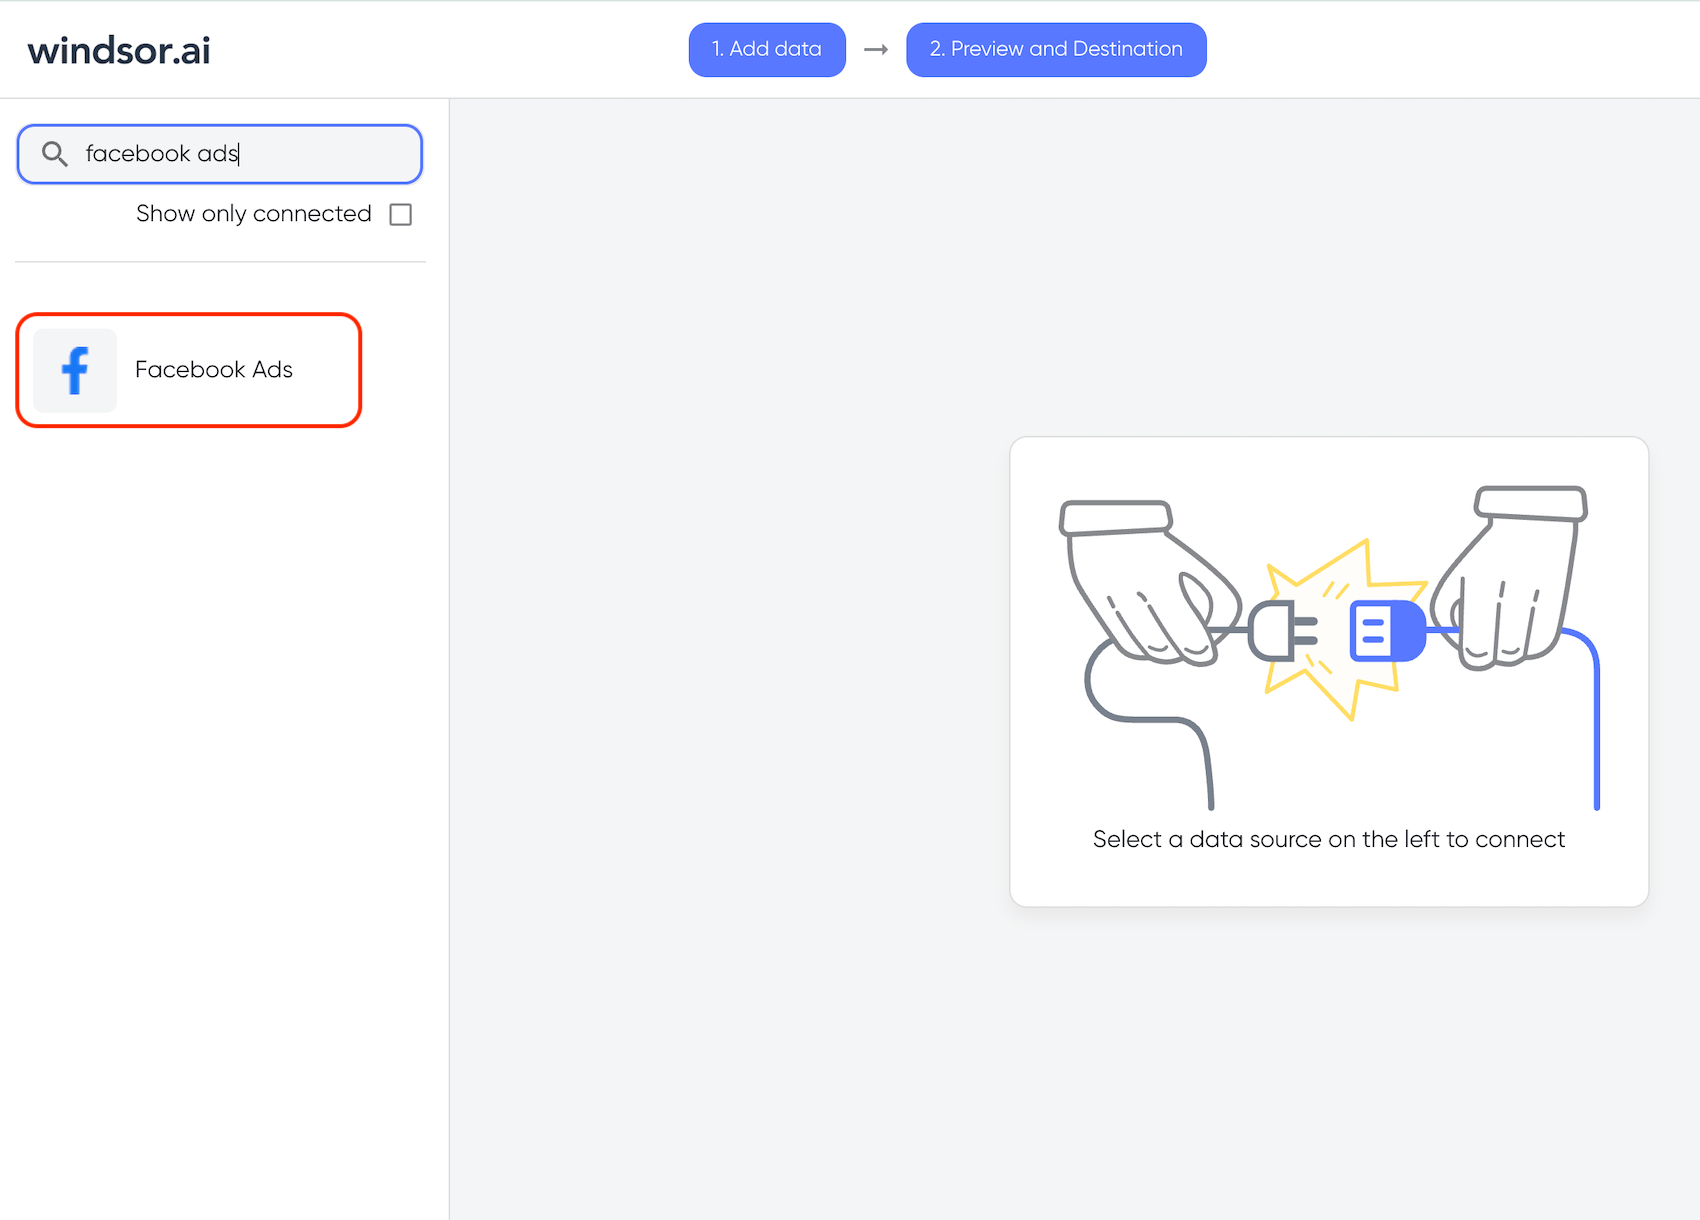
2. Select the data source from which you want to stream data, e.g., Facebook Ads. Grant Facebook Ads access, select the account(s), and click Next.
3. You’ll see your Facebook Ads data displayed in your Windsor.ai account. Copy the API key from the connector URL line (you’ll need it for further integration with Snowflake).

You can also find your API key in the Account Management settings, API Access section.

Step 2. Set up the Windsor.ai native connector for Snowflake
1. Go to your Snowflake account and select Marketplace. Search for Windsor, and select the appropriate connector you want to use, e.g, Facebook Ads Connector.

2. Click Get, and the connector will be installed in your account.

3. Once the connector is installed, click Open.

4. The connector page, along with a privileges dialog box, will open. Grant the necessary permissions by clicking Grant Privileges.

5. Select the data warehouse you want to use for the compute and click Save.

6. You’ll see a dialog box for connecting with external endpoints; click Connect.

7. Paste the Windsor API Key you copied from your Windsor.ai dashboard and click Connect.

Now, the connector is ready to create destination tasks.
8. Click Create New Task and enter the following details in the task form:
- Name: You can use any name.
- Fields: Choose the fields you want to retrieve data for.
- Accounts: Data source accounts you need.
- Database, schema, table: You can give any descriptive names (they’ll be auto-created).
When the form is completed, click Save.


9. Your task will be created, and first, its status will be pending after the data is loaded. In a moment, the task’s status will change to success.

10. Congratulations, your task has run successfully, and your data is now in your database.
Let’s preview the integrated data. Go to your Snowflake account and select Database Explorer from the Catalog menu.

11. Select your Database -> Schema -> Table that you entered while creating the task.
Before you can preview the data, you need to give privileges to the user to view the table data. After selecting the table, click +Privilege.

12. The Privileges dialog box will open. Select your User from the Roles dropdown and select the appropriate privileges (e.g, Select) from the Privileges dropdown. Confirm with the Grant Privileges button.

13. Now, click Data Preview, and you will be able to see your data.

That’s it! You’ve just streamed your first dataset to Snowflake using a Windsor.ai native connector. To load the next datasets from this or other data sources, follow the same steps.
You can also send data to Snowflake right from your Windsor.ai dashboard. Find the instructions in the Snowflake Integration Documentation.
FAQs
What prerequisites do I need to set up Windsor.ai connectors in Snowflake?
You’ll need:
- An active Windsor.ai account with a valid Windsor API key.
- Access to a Snowflake account with permissions to install and manage Marketplace connectors.
What credentials or information are required for the connection?
You’ll need your Windsor API key, which you can find in your Windsor.ai dashboard. Copy this key and paste it into the connector setup dialog in Snowflake when prompted.
Is it possible to automate data refreshes in Snowflake using Windsor.ai connectors?
Yes. Once your Windsor.ai task is created in Snowflake, it automatically manages data synchronization and updates data daily in your database.
What should I do if the connection between Windsor.ai and Snowflake fails?
If the connection test fails, try these quick checks:
- Ensure the Windsor API key is correct and active.
- Verify that you’ve granted all required privileges during connector setup.
- Check your Snowflake role permissions and ensure you can connect to external endpoints.
- Recreate the connector task if configuration errors persist.
What if I want to schedule my data refreshes and get historical data?
Currently, Windsor.ai native connectors for Snowflake don’t support data scheduling and historical data updates. For this opportunity, you have to create a destination task directly in the Windsor.ai dashboard, which allows you to set daily/hourly schedule refreshes and historical data updates.
Check the documentation for integrating data with Snowflake from Windsor.ai.
Tired of juggling fragmented data? Get started with Windsor.ai today to create a single source of truth

